By Harriet Forster March 24, 2025
In today’s digital age, accepting credit card payments has become a necessity for businesses of all sizes. A credit card terminal is a crucial tool that allows merchants to process payments securely and efficiently. Whether you run a brick-and-mortar store or an online business, having a credit card terminal can significantly enhance your customer experience and boost your sales.
In this comprehensive guide, we will walk you through the process of setting up a credit card terminal, from choosing the right hardware to configuring the software and ensuring security.
Choosing the Right Credit Card Terminal for Your Business

Before diving into the setup process, it is essential to select the right credit card terminal that suits your business needs. There are various types of terminals available in the market, including traditional countertop terminals, mobile terminals, and virtual terminals for online businesses. Consider the following factors when choosing a credit card terminal:
1. Payment Types: Ensure that the terminal supports all major payment types, including credit cards, debit cards, and contactless payments like Apple Pay and Google Pay.
2. Connectivity Options: Determine whether you need a terminal that connects via Ethernet, Wi-Fi, or cellular networks, depending on your business’s location and requirements.
3. Security Features: Look for terminals that comply with the Payment Card Industry Data Security Standard (PCI DSS) and offer encryption and tokenization to protect sensitive customer data.
4. Integration with Point of Sale (POS) System: If you already have a POS system in place, ensure that the credit card terminal is compatible and can seamlessly integrate with it.
5. Cost: Consider the upfront cost, ongoing fees, and transaction rates associated with the terminal. Compare different providers to find the most cost-effective solution for your business.
Setting Up the Hardware: Step-by-Step Guide
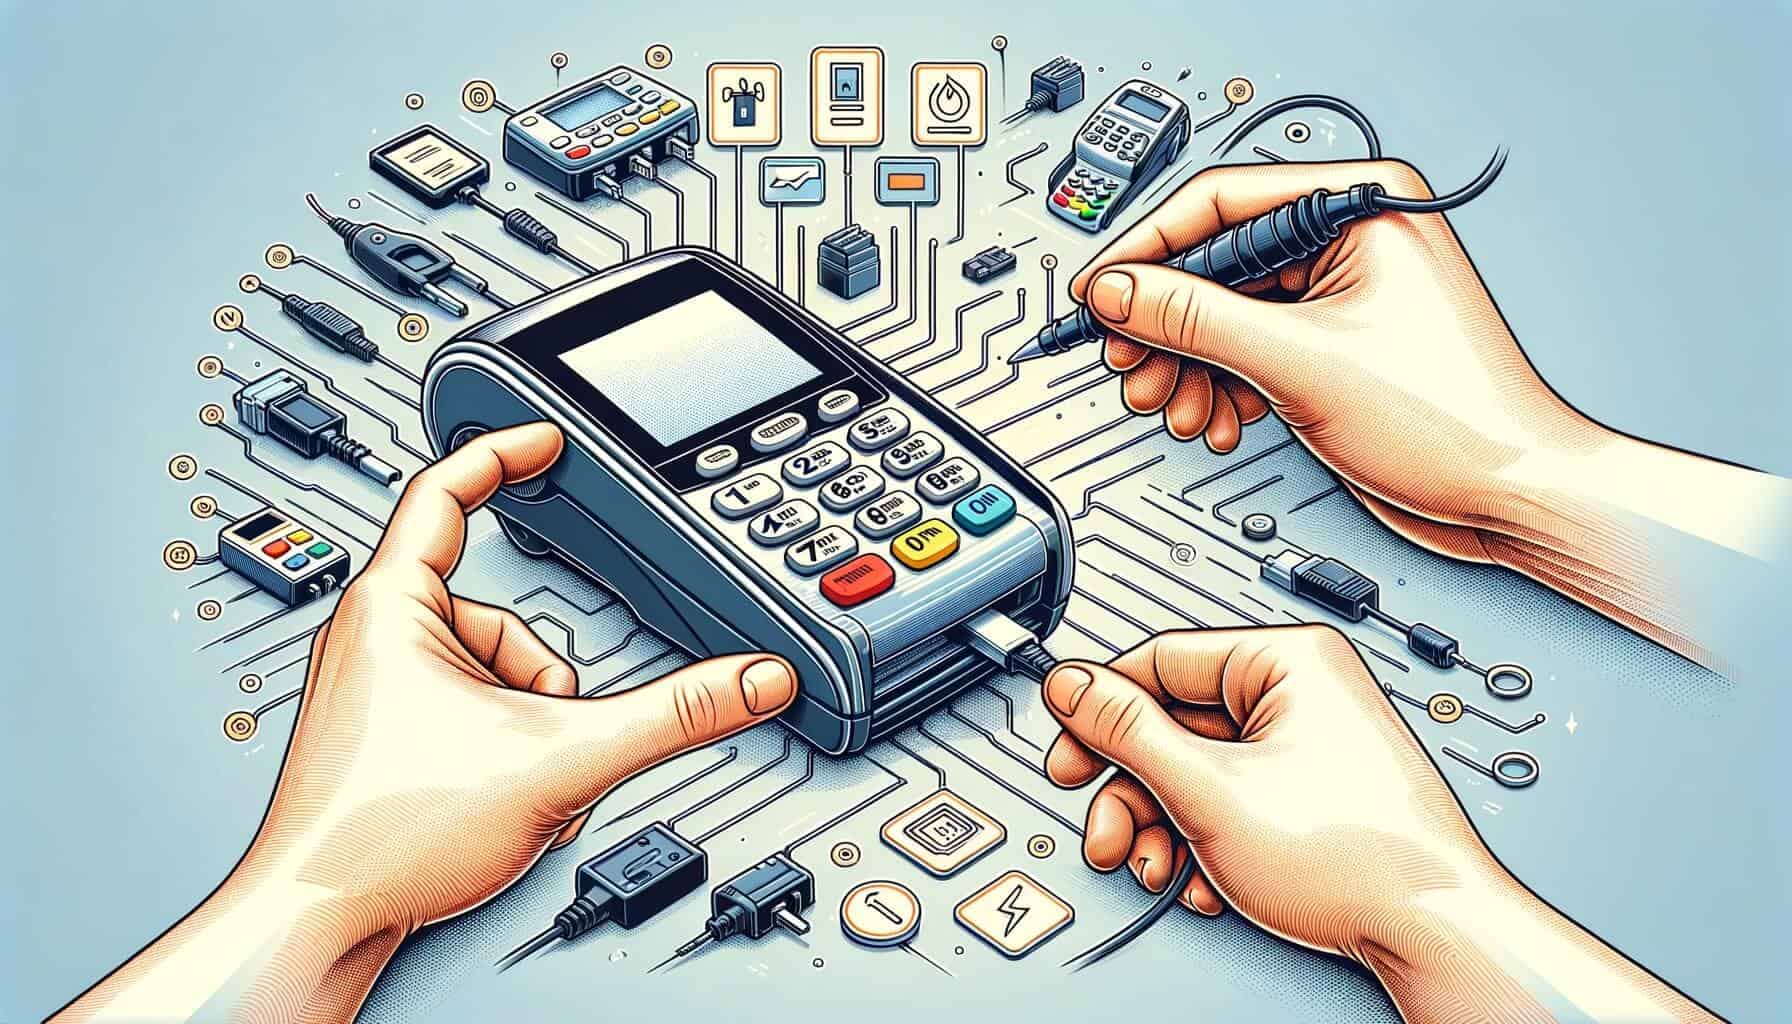
Once you have chosen the right credit card terminal, it’s time to set up the hardware. Follow these step-by-step instructions to ensure a smooth installation process:
1. Unbox the Terminal: Carefully unpack the terminal and remove all protective packaging materials.
2. Connect the Power Source: Plug in the power adapter into an electrical outlet and connect it to the terminal. Ensure that the power source is stable and reliable.
3. Connect to the Internet: Depending on the type of terminal, connect it to the internet using the appropriate method, such as Ethernet, Wi-Fi, or cellular data. Follow the manufacturer’s instructions for the specific terminal model.
4. Insert Paper Roll (For Receipts): If your terminal includes a built-in printer for receipts, open the printer compartment and insert the paper roll according to the manufacturer’s instructions.
5. Test the Terminal: Power on the terminal and perform a test transaction to ensure that it is functioning correctly. Follow the terminal’s user manual for instructions on how to perform a test transaction.
Connecting the Credit Card Terminal to Your Point of Sale System

If you have a POS system in place, it is crucial to connect your credit card terminal to it for seamless payment processing. Here’s how you can do it:
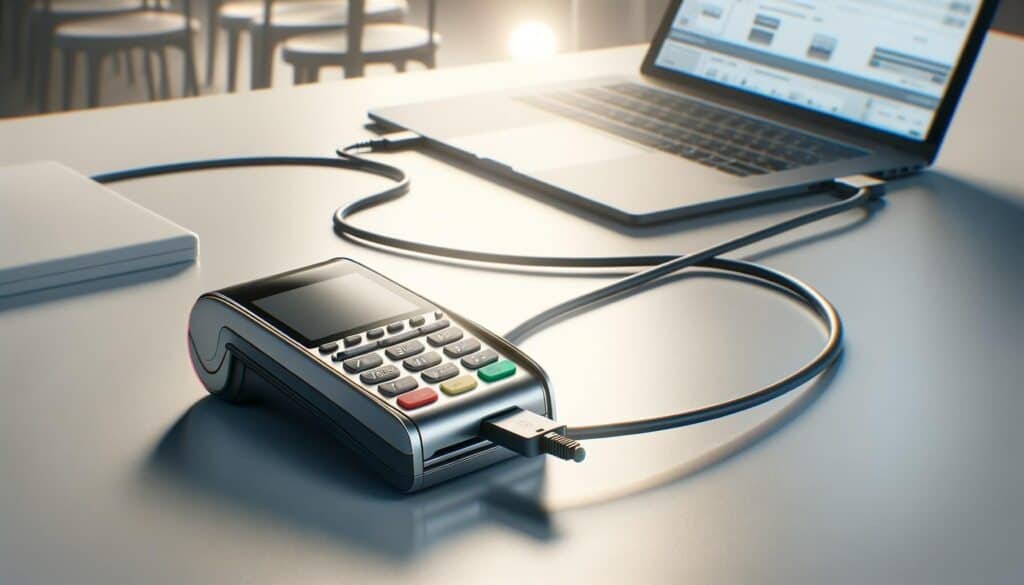
1. Determine the Connection Method: Check whether your POS system supports the integration of a credit card terminal. Most modern POS systems offer various integration options, such as USB, Bluetooth, or IP connectivity.
2. Connect the Terminal to the POS System: Depending on the connection method, follow the instructions provided by the POS system provider to connect the terminal. This may involve plugging in a USB cable, pairing via Bluetooth, or configuring IP settings.
3. Test the Integration: Once the terminal is connected to the POS system, perform a test transaction to ensure that the integration is working correctly. Follow the instructions provided by the POS system provider for testing the integration.
Configuring the Credit Card Terminal: Software Setup

After setting up the hardware and connecting it to your POS system, you need to configure the credit card terminal’s software settings. The software setup may vary depending on the terminal model and the payment processor you are using. Follow these general steps to configure the terminal:
1. Access the Terminal’s Settings: Most credit card terminals have a settings menu accessible through the device’s keypad or touchscreen. Refer to the terminal’s user manual to find the specific instructions for accessing the settings menu.
2. Set the Communication Method: In the settings menu, select the appropriate communication method (Ethernet, Wi-Fi, or cellular) that you have connected the terminal to.
3. Enter Network Settings: If you are using an Ethernet or Wi-Fi connection, enter the network settings provided by your internet service provider or network administrator. This may include IP address, subnet mask, gateway, and DNS settings.
4. Configure Payment Processor Settings: Enter the necessary information provided by your payment processor, such as merchant ID, terminal ID, and encryption keys. This information is typically provided by your payment processor when you sign up for their services.
5. Customize Receipt Settings: If your terminal has a built-in printer for receipts, you can customize the receipt header, footer, and other settings according to your business requirements.
Testing and Troubleshooting the Credit Card Terminal

After configuring the software settings, it is crucial to thoroughly test the credit card terminal to ensure that it is functioning correctly. Follow these steps to perform a comprehensive test and troubleshoot any issues that may arise:
1. Perform Test Transactions: Process a few test transactions using different payment methods, such as credit cards, debit cards, and contactless payments. Ensure that the terminal accurately calculates the transaction amount and prints receipts if applicable.
2. Check for Connectivity Issues: Verify that the terminal is consistently connected to the internet without any interruptions. If you experience connectivity issues, check the network settings, signal strength, and contact your internet service provider if necessary.
3. Test Different Card Types: Test the terminal with different types of credit and debit cards to ensure compatibility. Some terminals may have issues with specific card brands or types, so it’s essential to identify and address any compatibility issues.
4. Verify Transaction Speed: Monitor the transaction speed to ensure that it meets your business’s requirements. Slow transaction processing can lead to customer dissatisfaction and longer wait times.
5. Troubleshoot Error Messages: If you encounter any error messages or issues during the testing process, refer to the terminal’s user manual or contact the manufacturer’s support for troubleshooting assistance.
Ensuring Security: Best Practices for Credit Card Terminal Setup
Security is of utmost importance when setting up a credit card terminal to protect your customers’ sensitive payment information. Follow these best practices to ensure a secure setup:
1. Choose a PCI DSS Compliant Terminal: Select a credit card terminal that complies with the Payment Card Industry Data Security Standard (PCI DSS). This ensures that the terminal meets the necessary security requirements to protect cardholder data.
2. Secure Network Connection: If you are using an internet connection, ensure that it is secure and encrypted. Use strong passwords for your Wi-Fi network and change them regularly. Consider using a virtual private network (VPN) for added security.
3. Enable Encryption and Tokenization: Configure the terminal to encrypt cardholder data during transmission and storage. Additionally, consider implementing tokenization, which replaces sensitive card data with unique tokens, further enhancing security.
4. Regularly Update Software: Keep the terminal’s software up to date by installing the latest firmware and security patches provided by the manufacturer. Regular updates address vulnerabilities and ensure optimal performance.
5. Train Employees on Security Practices: Educate your employees on best practices for handling credit card transactions and maintaining security. This includes not sharing passwords, being vigilant against phishing attempts, and securely storing customer data.
Understanding Payment Processing and Merchant Accounts
To fully grasp the credit card terminal setup process, it is essential to understand the concepts of payment processing and merchant accounts. Here’s a brief overview:
1. Payment Processing: Payment processing refers to the steps involved in authorizing and settling credit card transactions. When a customer makes a payment, the credit card terminal sends the transaction details to the payment processor, who communicates with the cardholder’s bank to authorize the transaction. Once authorized, the funds are transferred from the cardholder’s bank to the merchant’s bank account.
2. Merchant Account: A merchant account is a type of bank account that allows businesses to accept credit card payments. It acts as an intermediary between the merchant, the payment processor, and the cardholder’s bank. When a transaction is processed, the funds are first deposited into the merchant account before being transferred to the merchant’s regular business bank account.
Frequently Asked Questions (FAQs) about Credit Card Terminal Setup
Q1. Can I use any credit card terminal with my POS system?
A1. Not all credit card terminals are compatible with every POS system. It is essential to check the compatibility requirements of your POS system and choose a terminal that supports the integration.
Q2. How long does it take to set up a credit card terminal?
A2. The setup time can vary depending on the complexity of the terminal and the integration process with your POS system. On average, it can take anywhere from a few minutes to a couple of hours.
Q3. What should I do if my credit card terminal is not working?
A3. If your credit card terminal is not working, first check the power source and connectivity. Ensure that the terminal is properly connected to the internet and that all cables are securely plugged in. If the issue persists, refer to the terminal’s user manual or contact the manufacturer’s support for further assistance.
Q4. How often should I update my credit card terminal’s software?
A4. It is recommended to update your credit card terminal’s software regularly, ideally whenever new firmware or security patches are released by the manufacturer. Regular updates ensure that your terminal is protected against the latest security vulnerabilities.
Q5. Can I use a credit card terminal without an internet connection?
A5. Some credit card terminals support offline mode, allowing you to process transactions without an internet connection. However, offline transactions may have limitations, such as delayed settlement and the inability to verify cardholder information in real-time.
Conclusion
Setting up a credit card terminal is a crucial step for businesses looking to accept credit card payments. By choosing the right terminal, setting up the hardware and software correctly, and ensuring security measures are in place, you can provide a seamless payment experience for your customers while protecting their sensitive information.
Remember to regularly test and troubleshoot the terminal to address any issues promptly. With a well-configured credit card terminal, you can enhance your business’s efficiency, increase customer satisfaction, and drive growth in today’s digital economy.